How to Make Crystal Clear Ice Balls (or Cubes) at Home
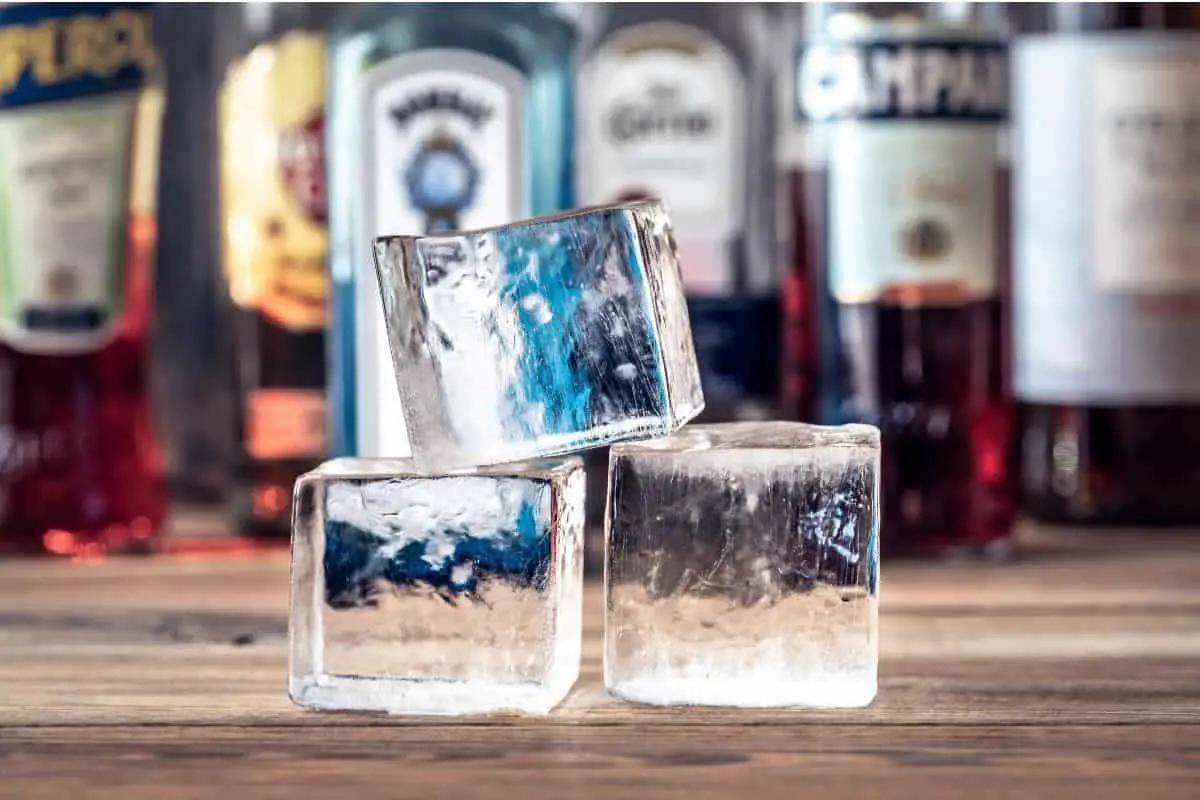
Making crystal clear ice balls (or cubes) at home is a simple process that adds aesthetics to your drinks and is a fun way to wow your guests. Traditional square ice cubes tend to be cloudy, almost dingy looking, and don’t add much to your cocktails behind watering them down. Try this method for making clear ice – trust us when we say it’s oddly satisfying and something you’ll feel proud of.
Even if you’re not familiar with the world of bartending, you probably know that there are several ways to add a splash of creativity to cocktails. Garnishes are the most popular ones, such as pieces of fruit or aromatic herbs, like mint but there is one key ingredient that often flies under the radar… Ice. We’re not talking about just any ice either, we are talking about crystal clear orbs of perfection!
The way we use ice can totally change the appearance of a cocktail, bringing that extra bit of beauty to the liquid it’s sitting in, and in some cases, completely altering the drinking experience.
For example, if you’re a whiskey connoisseur you’ve probably tasted — at least once — the bronze-colored liquid with a big, eye-catching crystal clear ice ball in the middle, thanks to the fact that good bars and restaurants know that ice makes all the difference. It seems so trivial but, it is awe-inspiring in a way. If it wasn’t you wouldn’t be here reading this post on how to make these crystal clear ice balls/cubes of wonder right now.
Think about it, what was the first thing that popped into your mind the first time you saw a clear ice sphere floating in your glass? You probably thought “wow, this looks really cool”, and felt an urge to replicate it at home. It’s cool, we get the fascination and that’s exactly why we want to help you recreate the beauty that is a clear ball of ice.
Nevertheless, after countless failed attempts to replicate it, most people decide to stick to the same old cloudy cubes from their freezer, wondering whether or not it’s really worth it to keep trying to make see-through ice. We understand the frustration, we have been in the same boat ourselves, but guess what? We’ve got good news for you: we found the ultimate way to make cloud-free, clear ice cubs that actually turn out! So grab your best bottle of Scotch and get ready to enjoy it in the coolest way possible, because today we’ll show you how to make clear ice at home. Cheers!
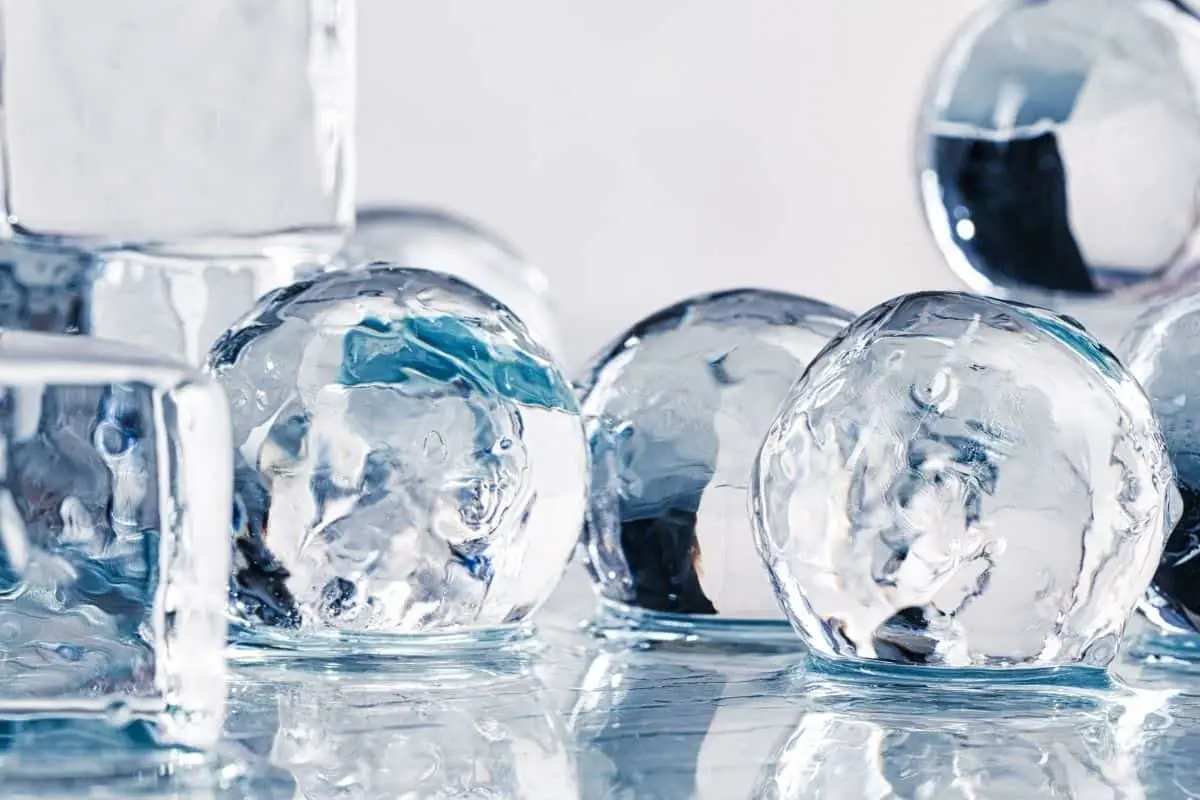
How to Make Clear Ice
Ok so, why should you waste your time making clear ice? I mean, ice is ice, frozen water is always the same… Right? Well… Not really. Before we even discuss how to make crystal clear ice balls, we would like to briefly explain why clear ice has a plus over cloudy ice besides looks, and the plus lies in the overall flavor of the drink.
When making ice cubes the old-fashioned way, by just filling a regular ice tray with tap water, chances are the water will have impurities or even a particular flavor, which can change the taste of your drink of choice. Likewise, leaving an ice cube tray in the freezer all by itself can contaminate the taste of the drink with the odors/flavors of other things stored in the freezer.
However, if you aren’t drinking anything fancy and don’t mind a slight shift in the flavor of your drink, that’s completely fine! But if you’re drinking an expensive bottle that you’ve had for years and plan to enjoy it on New Year’s Eve to celebrate, a slight shift can make all the difference.
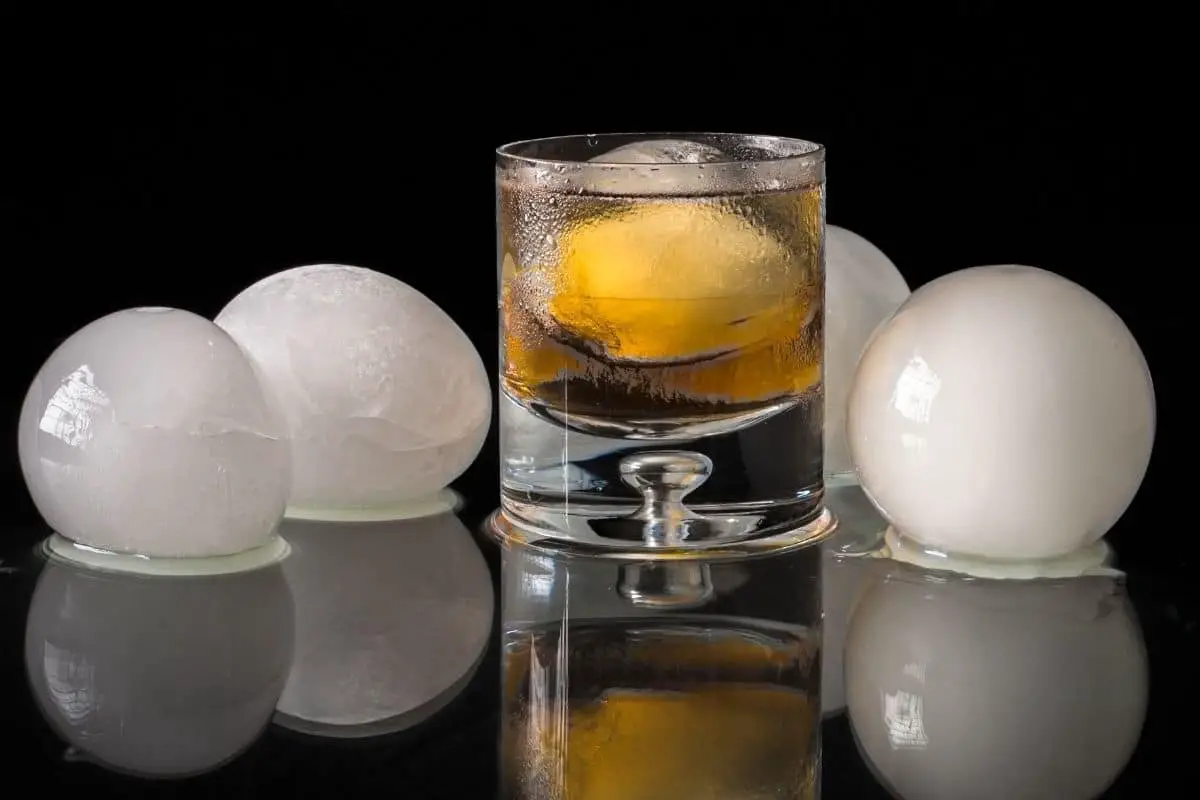
Now, back to the main topic. When it comes to making ice in the freezer, we always had the same problem — it doesn’t turn out clear. Instead, we get cloudy, milky-centered ice that sometimes even smells vaguely like the Chinese food leftovers that sat in the freezer for 3 weeks… And we know we weren’t the only ones who had this problem. That’s why we decided to do extensive research on the best ways to make clear ice, and after nearly getting a brain freeze from reading so many different methods, we finally know how to make clear ice balls at home. First key factor: water.
Type of Water to Use
It goes without saying that water is the most important factor when making ice, which can come from many sources. From your kitchen tap, from your nearest grocery store, or who knows, even from the clouds. You can use filtered water, purchase drinking water from your local grocery store, or go for the no-brainer, tap water (although it can contain minerals and impurities, and may taste kinda gross depending on the state you live in).
However, if you want to minimize the presence of impurities and off-flavors, we suggest that you use distilled water. It’s essentially tasteless and free of the impurities that can contribute to your ice looking opaque, so it’s a safe bet.
Distilled water is made by boiling water, collecting the steam/water droplets that are produced from boiling the water and condensing that steam into drinking water.
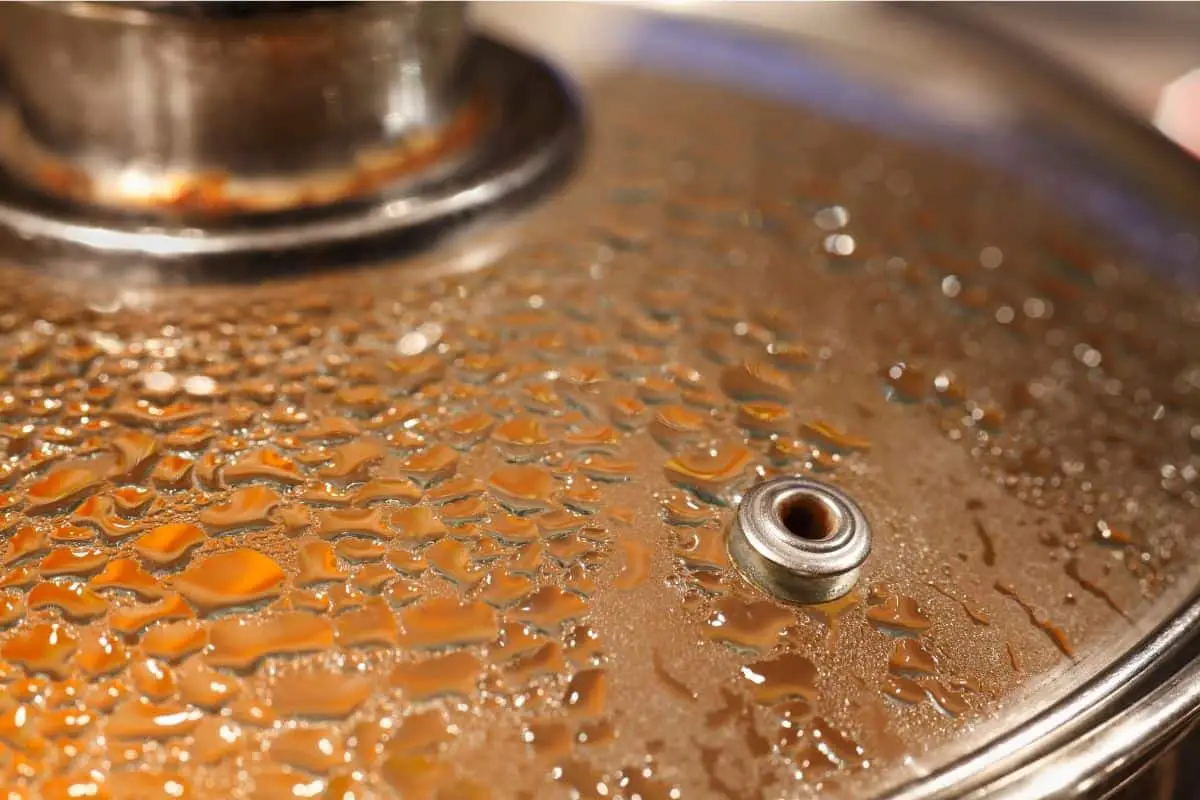
Imagine boiling a pot of water on your stove and using a lid to collect the water particles, then funneling those water particles into a sterile container until you have enough for a full 8oz glass of water. Sound like fun? Yeah, we don’t think so either. So, while you can distill water at home it would be a laborious process, your best bet is to buy a jug from the grocery store and call it a day!
Steps in making clear ice
If you want clear ice cubes floating in your cocktail, there are 5 steps you should follow:
- Get an ice ball/sphere mold
- Boil the water twice
- Use the directional freezing method
- Freeze it slowly
- Remove the bottom of the ice and enjoy!
The most important of all steps is the third one, the use of the directional freezing method. To make clear ice at home you must know how water freezes, and know the direction in which it freezes.
One of the factors that cause the ice to get cloudy, besides the impurities that the water may contain, is the air trapped inside the ice. When ice is frozen in traditional ice trays, the outside of the cubes freezes first, pushing tiny air bubbles into them which then reflect some of the light they receive in all directions, resulting in that “optical illusion” of a milky center. This is where the directional freezing method comes into play.
This method, first introduced in Alcademics in 2009 as a game-changer — it definitely is —, it insulates all sides of the ice except for the top, thus expelling the air bubbles downward and any remaining impurities as it freezes from the top down. But how can you achieve this method? We’ll explain it below, so keep scrolling!
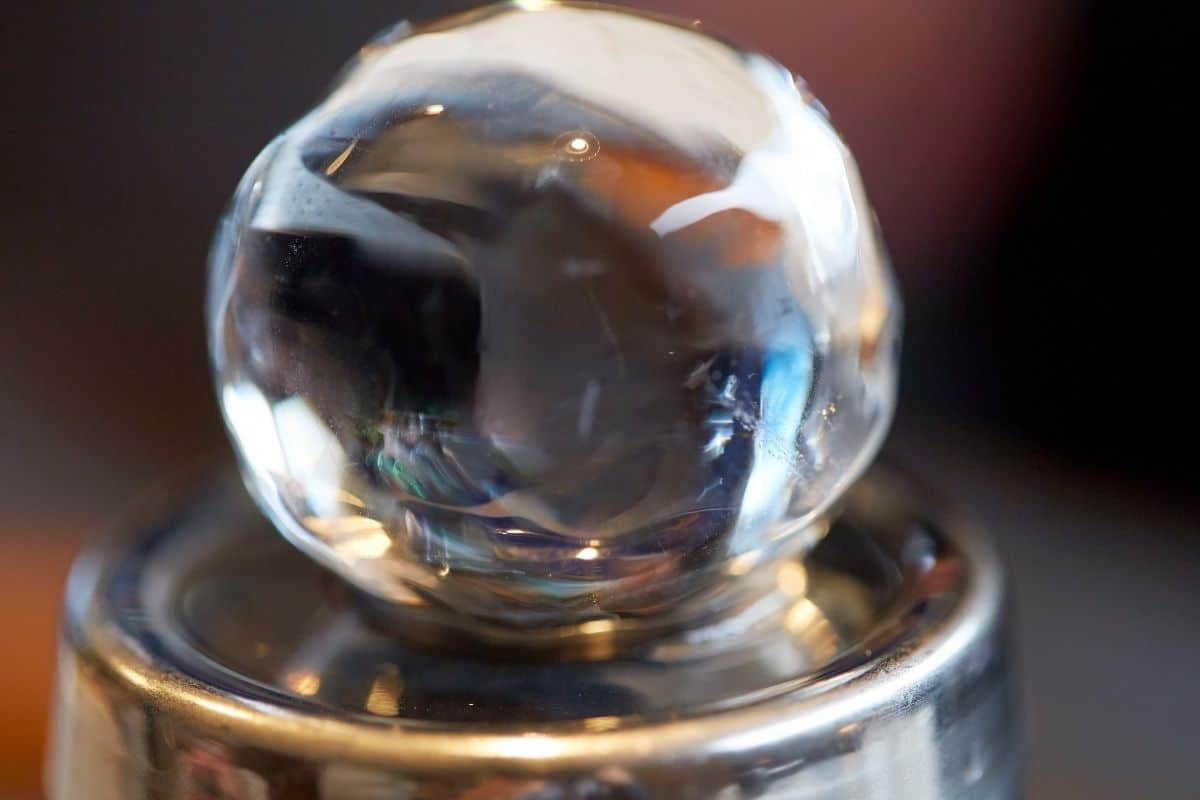
A Beginners Guide in Making Crystal Clear Ice Balls
Many “premium” ice brands market the illusion that you need to cool your drink using crystal clear ice balls brought specifically from the coldest Icelandic glacier ever in order to enjoy it properly, however, we’re not buying that. That’s why we put together a beginner’s guide for those who want to know how to make clear ice spheres at home, no Icelandic glaciers, and no “premium” anything. It only takes 5 simple steps, so without further ado, enjoy!
Step 1: Get An Ice Ball or Cube Mold
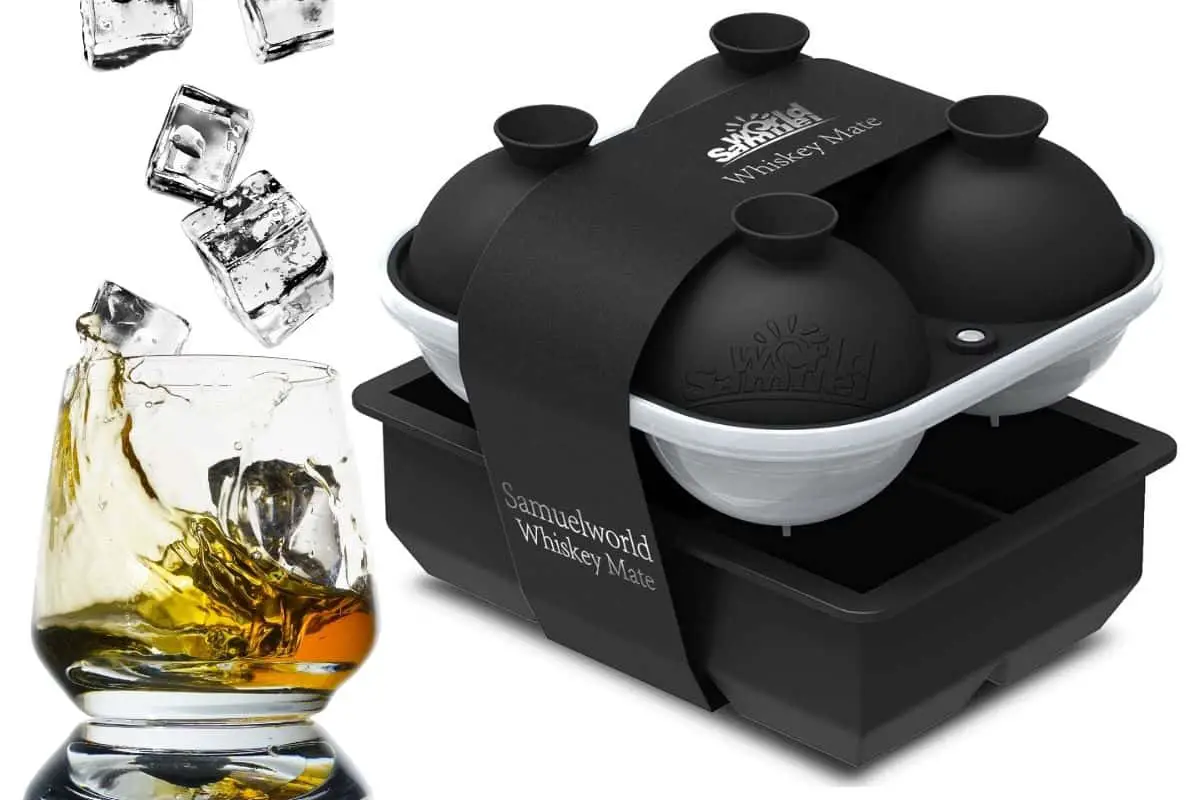
Some people do ice balls using balloons, but if you want perfectly round ice balls or just don’t want to deal with the hassle of filling and breaking water balloons, it’s better to invest in a nice ice sphere mold. We’ll recommend different types of molds at the end of the post, but for starters, you can use the Samuelworld Ice Cube Trays 2.5 in Sphere & Cube Ice Mold. It’s good, affordable, and easy to use, and you’ll be able to reuse it many, many times.
Step 2: Boil The Water Twice
Usually, we fill our ice molds with room-temperature water and put them directly into the freezer. But if you want a solid, bubble-free ice sphere that doesn’t melt immediately when dropped into a liquid, you need to boil the water first.
Boiling forces any extra bubbles out of the water and dissolves impurities, so just boil the water once, let it cool, and then boil it once again. After it has boiled a second time, let it cool to room temperature before moving on to the next step.
Step 3: Use The Directional Freezing Method
To achieve this method and insulate the ice, you will only need three things: a small six-can cooler, a shaker tin, or an insulated thermos big enough to fit the ice mold in it, and patience.
- Fill the cooler with water, leaving an inch or two of space at the top so the ice expands.
- Fill the shaker tin or the thermos with water up to the rim.
- Open the ice ball mold, fill it up to the limit line, then close it.
- Hold your thumb over the hole in the mold and turn it upside down, stick it on top of the shaker tin/thermos and then place it in the cooler.
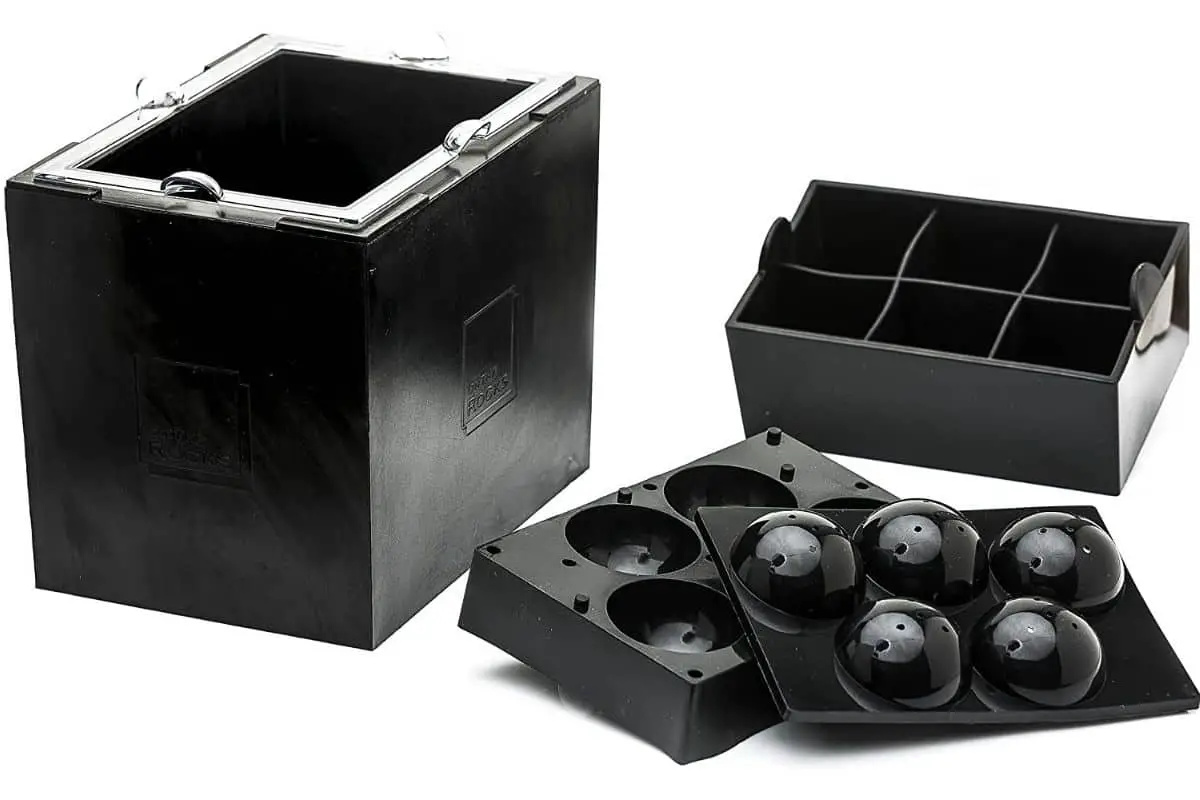
If you want to get extra fancy, you can also do this method with ice cube trays — or by directly freezing the water in the cooler — and then place the cubes in an ice ball press. But this method is cumbersome and you can get a complete kit with everything you need here.
Step 4: Freeze It Slowly
If you live in a state where it snows a lot during the winter or have traveled to a freezing cold country, you surely noticed the crystal-clear icicles that form in the roofs and trees. These icicles are so glassy because they form very slowly, and the same thing happens with ice for drinks.
Just place the cooler in the freezer without a lid for about 24 hours and let the water do its own thing. The trick to creating crystal clear ice cubes and balls is to freeze the water slowly so that impurities have a chance to rise to the surface and, in the case of air bubbles, escape from the liquid.
After the 24 hours are up, remove the cooler from the freezer before it’s completely frozen — so that the frozen water pushes any impurities into the unfrozen part of the water —, and get ready to unmold everything.
Step 5: Remove The Bottom Of The Ice And Enjoy!
After removing the cooler from the freezer, if the container sticks to the huge chunk of ice that’s in the cooler, place it in the sink for 5 minutes and let some warm water run down the cooler.
After the shaker tin or thermos comes off the block of ice and you can remove the mold itself from it, you will probably wonder how to detach the mold from the cylinder of ice that’s underneath, and there’s only one answer: grab your meat mallet, get into Thor mode and smash it! Remember, Thor mode, not Hulk mode, avoid making a mess by placing a tray under everything, or simply do this step in the sink.
Once you have taken out your spherical babies, just rinse them with a splash of distilled water to appreciate their full clarity, put them in your favorite glass, pour your best liquor, and voilà! Enjoy.
P.S: After you master the art of making mirror-like ice balls, don’t be afraid to go wild: if you plan to drink anything other than whiskey, drop a couple of mint leaves or a few small pieces of fruit into the mold before pouring the water. That way you’ll have a custom ice sphere that will perfectly garnish your cocktail and cause even more visual impact.
Why are ice balls better than cubes
We already mentioned at the beginning of this post that every detail adds up in a cocktail, including how and in which form we use ice. But is there a specific reason why ice balls are better than cubes? Yup, there are many reasons!
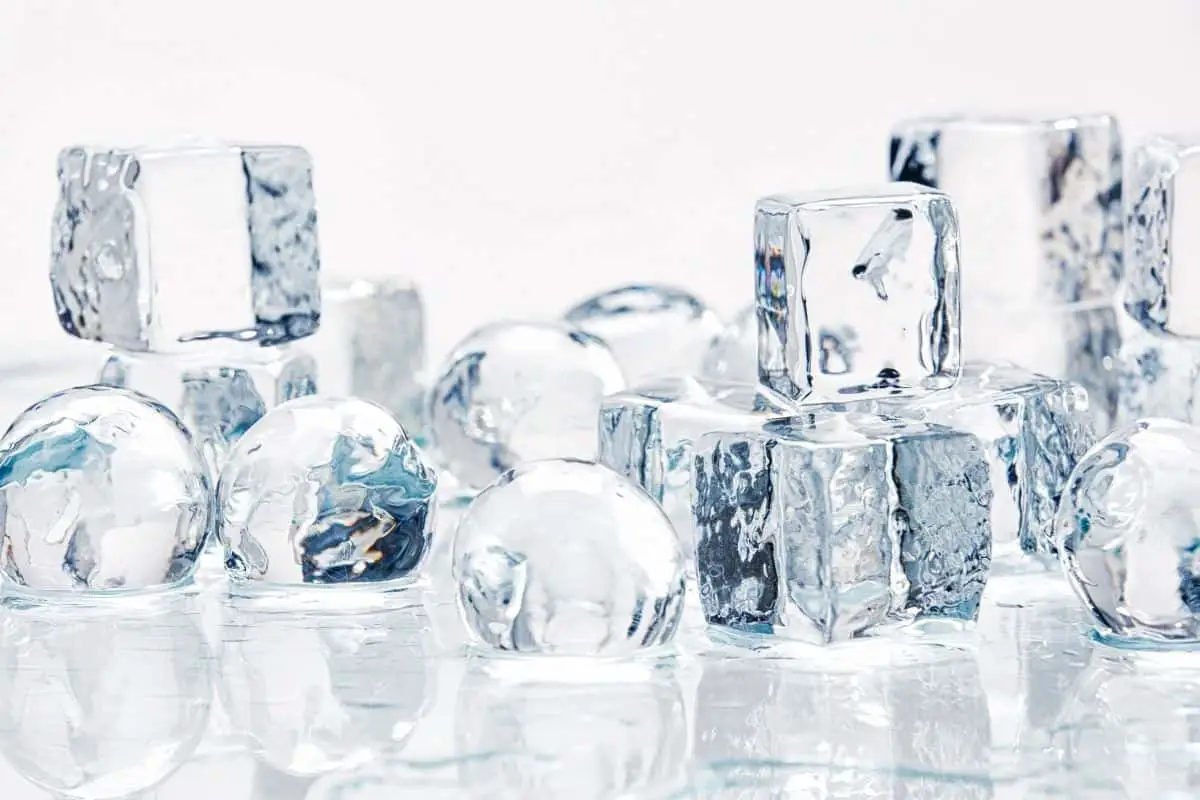
- It melts slower: In a nutshell, it’s all about volume and surface area. If we compare an ice sphere with a cube, an ice sphere exposes less surface area for the same amount of volume than an ice cube (over 24% less!). Its tighter shape and smaller surface area mean that the sphere is less exposed to the warm liquid surrounding it, essentially cooling it for longer without diluting it.
- It doesn’t change the taste of the drink: The round shape of this type of ice not only allows the ice to melt slower and cool the liquid better but also alters the flavor of the drink less since it doesn’t dilute it as fast as regular cubes do.
- It makes you save on ice: With just one large ball you can chill a glass — and more — of whiskey, cocktails, or whatever you want, meaning that you’ll need to use less ice when you host parties with your friends and family.
- It looks more original: Who says ice has to come in cubes? Let’s face it, ice balls look way cooler than ice cubes. Their shape, robustness, and unique appearance make them a sure bet to surprise your guests — they’ll be the main attraction of the occasion.
Trays to buy for making clear ice
If you want to speed up the process and make several ice cubes or spheres at once, there are plenty of trays for making clear ice on Amazon that will do the trick. We know it can be difficult to navigate through all the different trays and molds, but that’s why we’re here, to summarize the best ones out there. Let’s see which one you like the most:
Ice Cube molds
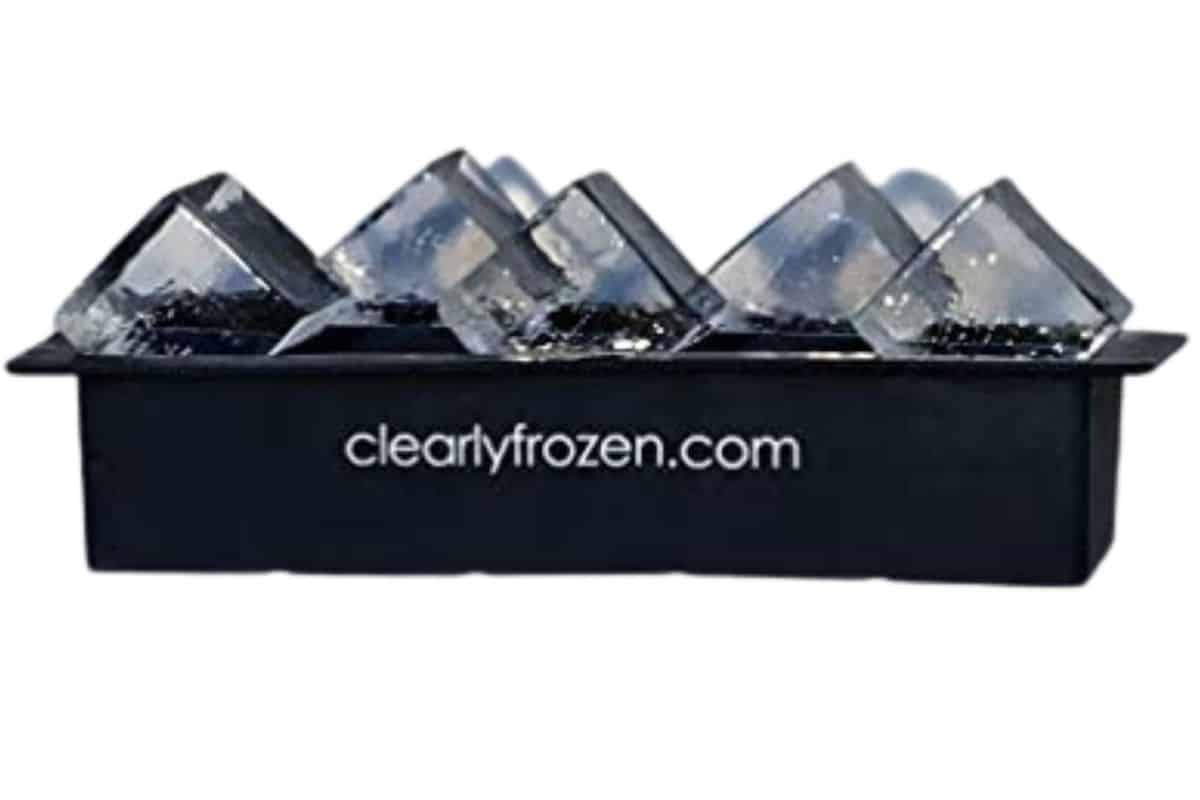
If you want to make clear ice cubes, you can use the same directional freezing method by only filling the cooler with water and freezing it for 24 hours, but if you want to skip the task of taking the huge square of ice and sculpting it into cubes, some trays will do it for you, like the ClearlyFrozen tray. It looks like a typical silicone ice mold, but trust us, it will give you a lot of bang for your buck. The mold comes with an insulated foam tray to freeze the cubes using the directional freezing method, and the best part is that it makes 10 2-inch cubes at a time. It’s also BPA-free and very user-friendly — you just have to put it together, fill it with water, and stick it in the freezer —, so it’s a viable option if you want a tray that freezes directionally without using a cooler.
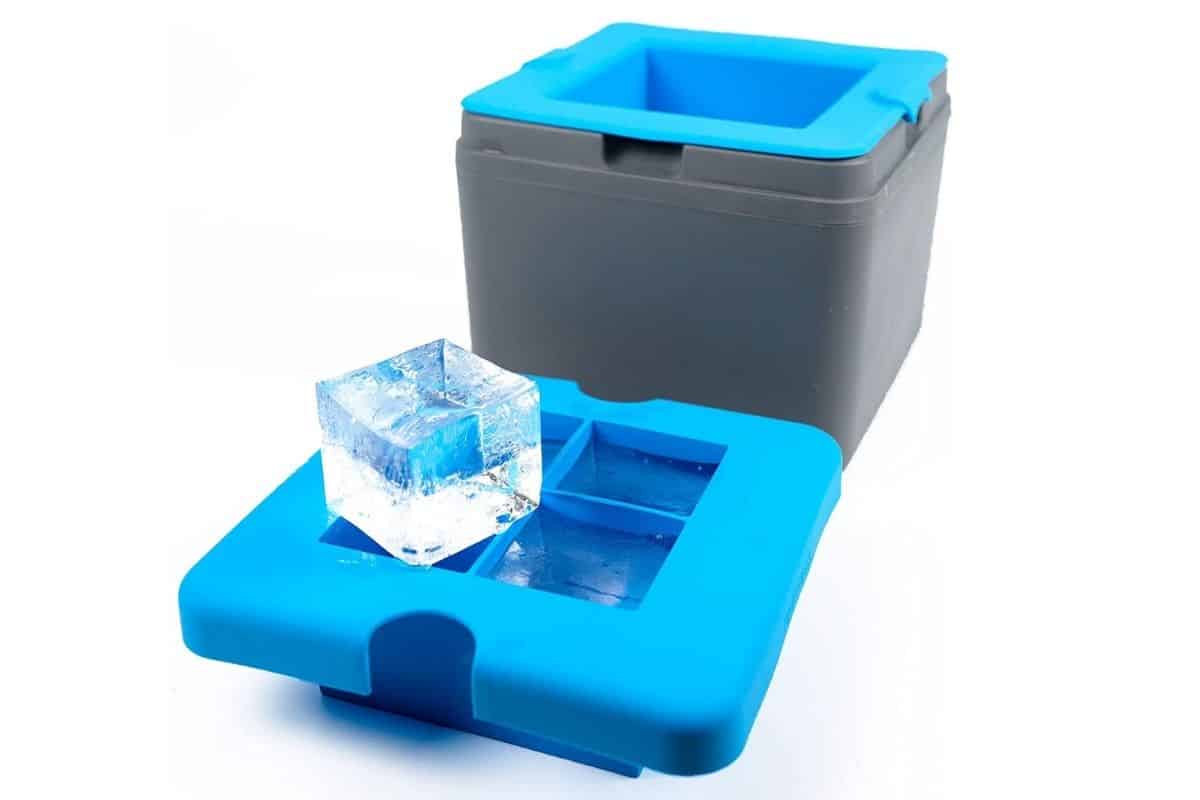
If you don’t have much room in your freezer but still want to make several 2-inch cubes at once, another good option is the clear ice cube tray from True Cubes. Just fill the blue mold to the top with water, put the tray in the freezer for 18 to 22 hours, let the directional freezing magic do its thing, and that’s it — four perfect ice cubes in a breeze! Plus, it’s made from BPA-free silicone too.
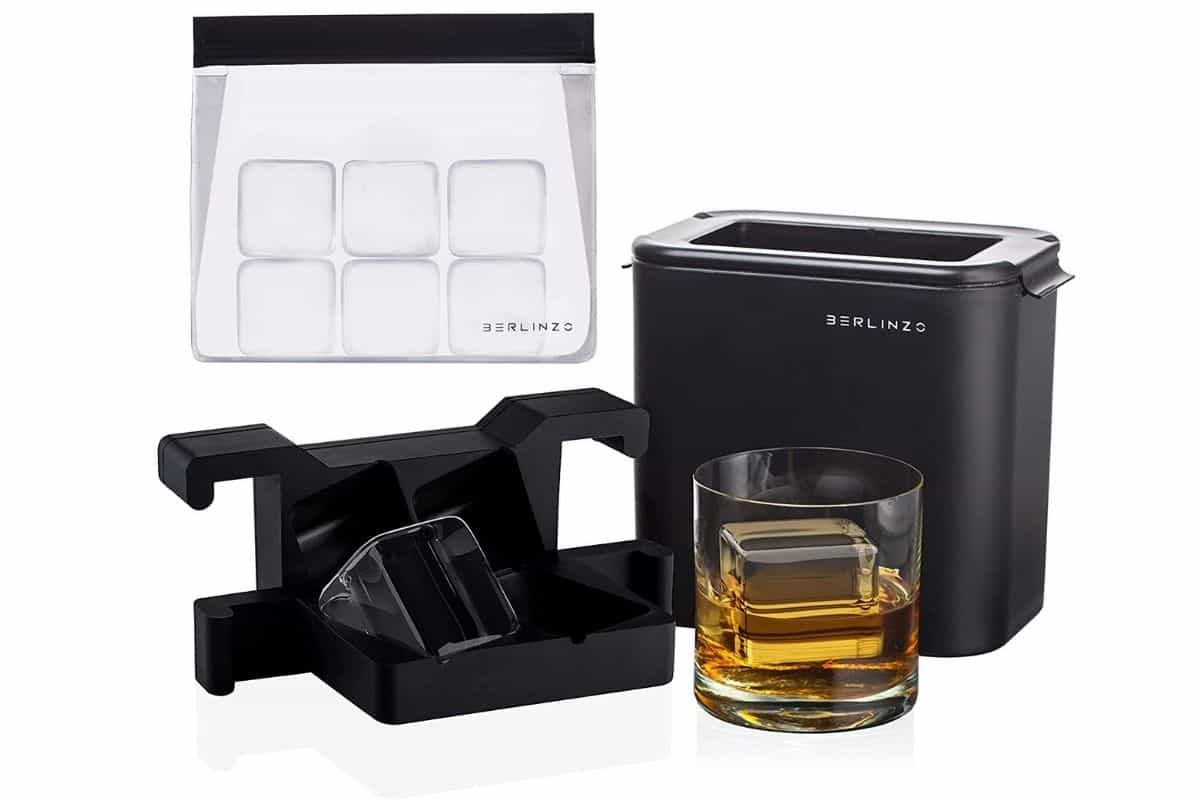
Last but not least, BERLINZO has a clear ice cube tray that although falls slightly on the pricey side, once you fill it with water you’re left with two 2-inch cubes completely free of cloudy impurities. Also, included with the tray is a “bonus” ice storage bag made of EVA plastic, so your cubes keep their shape and don’t absorb any odors from the other things you have stored in your freezer.
Ice Balls/Sphere Molds
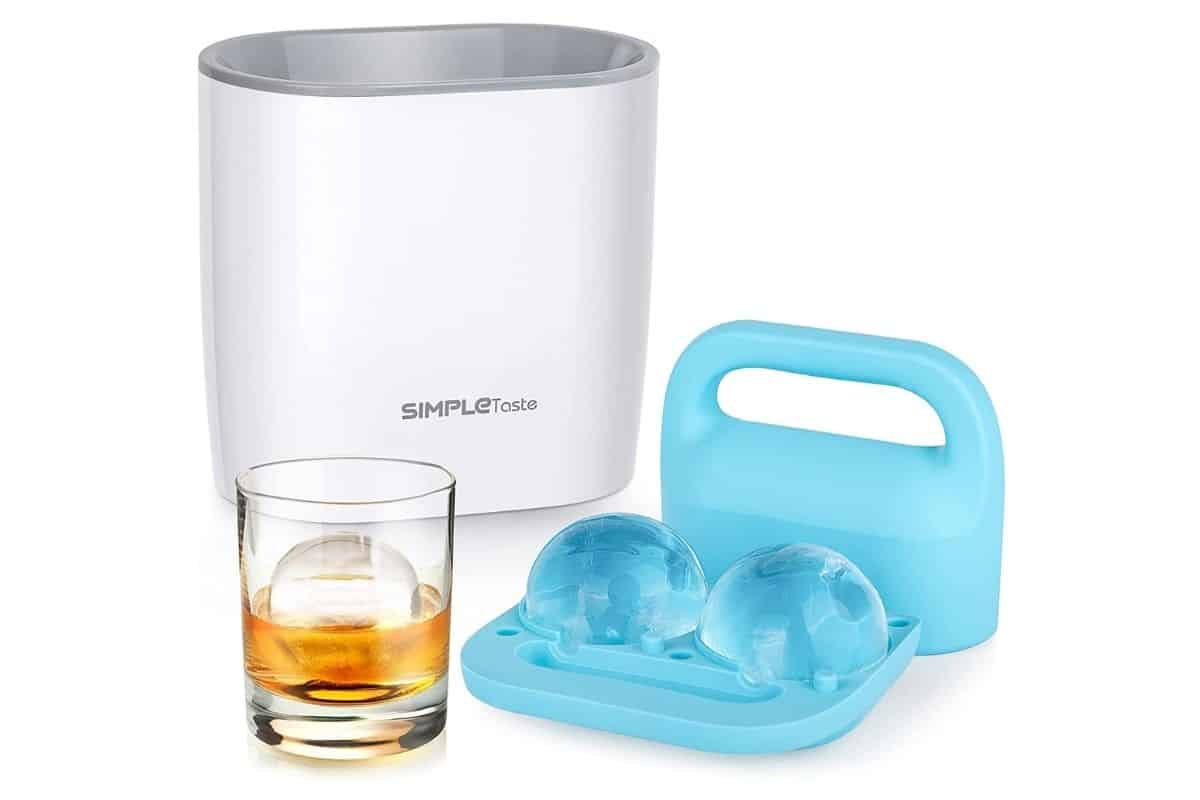
If you’re on a budget, this SIMPLETASTE ice sphere tray is your soulmate for sure. Besides directional freezing, what’s really cool (pun intended) about this tray is that it has ergonomic handles, and in order to release the spheres from the tray you have to pull them apart. That’s an extra point for fun! If you have already tried the Tovolo molds and want to up your ice sphere game, feel free to add this tray to your kitchen.

This tray will channel the at-home directional freezing method without the need for an extra thermos or shaker tin, but it’s not exactly budget-friendly, to say the least. We’re talking about the OnTheRocks tray, which not only makes ice spheres but also cubes. For those who are wondering, yup, it is a kit! It’s a versatile and effective option, which also features a unique-shaped clear plastic vessel that allows for quick and easy removal of the mold. We can’t get enough of this tray, seriously.
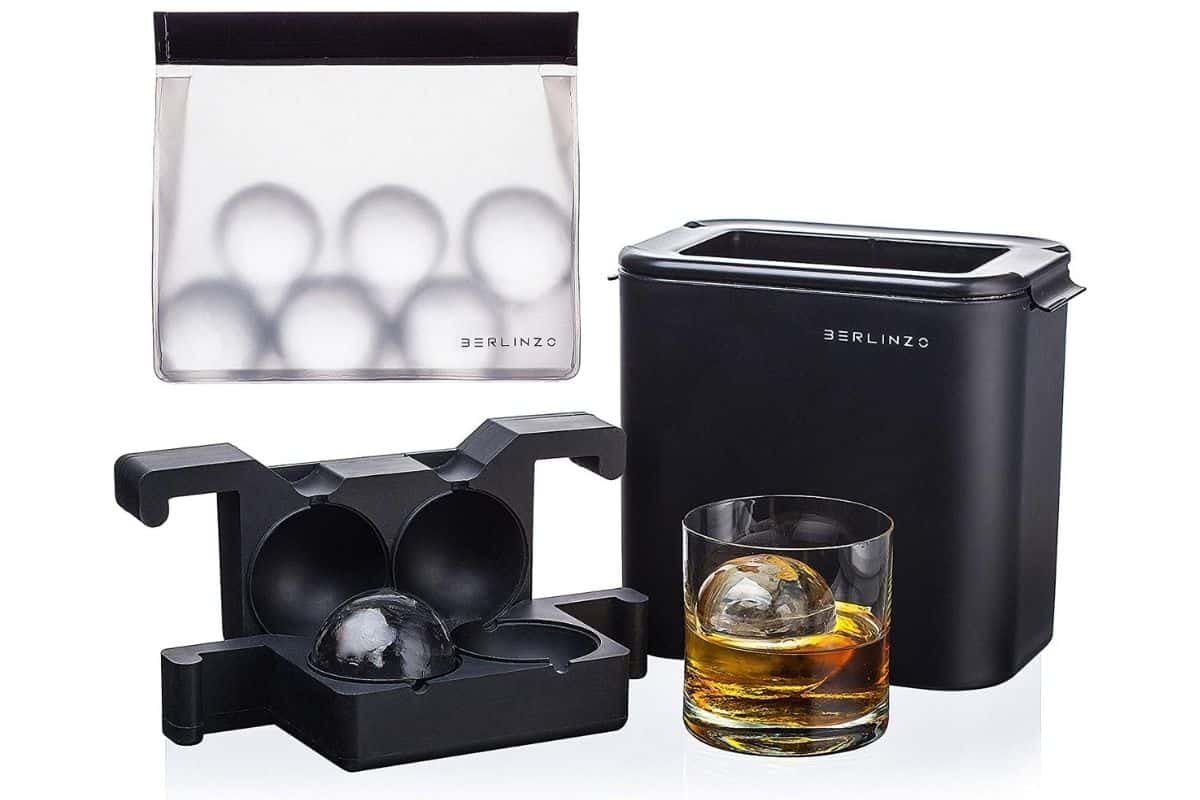
Let’s say you have very little space in your fridge for some reason, but you still want to enjoy your cocktails with an ice ball in the middle… Is there an option for you? Of course! This BERLINZO — hi again! — individual ice “tray” is perfect for those who want to experience the wonders of directional freezing but have limited space in their freezers… Or just want a larger sphere (2.4-inch) and don’t want to share it with anyone.
BTW, if you got bored with the idea of ice spheres after doing them over and over again, silicone molds can become your best friend. For instance, you’ll love this Death Star mold if you consider yourself a true Jedi, or if you still want to celebrate the spooky season even though we’re getting close to Christmas, these skull molds are a great way to spice up your drinks. Now that you know how to make crystal clear ice balls, let your creativity flow at the bar!

